Monday, April 1, 2013

DIY Candle Holders


Supplies:
Stair spindles from Lowes around $2 each
Wooden platforms from Lowes around $2 each
Upcycled salsa jar lids
spray paint

Time :
about 30 min plus drying time

Steps:
1. Paint
2. Glue or screw platforms to spindles
3. Hot glue lids to top of spindles


This is a great way to upcycle lids. Aaron also had the idea to paint pop lids to hold long candles.


Sunday, March 31, 2013

Maiden Voyage : Skidaway Island State Park


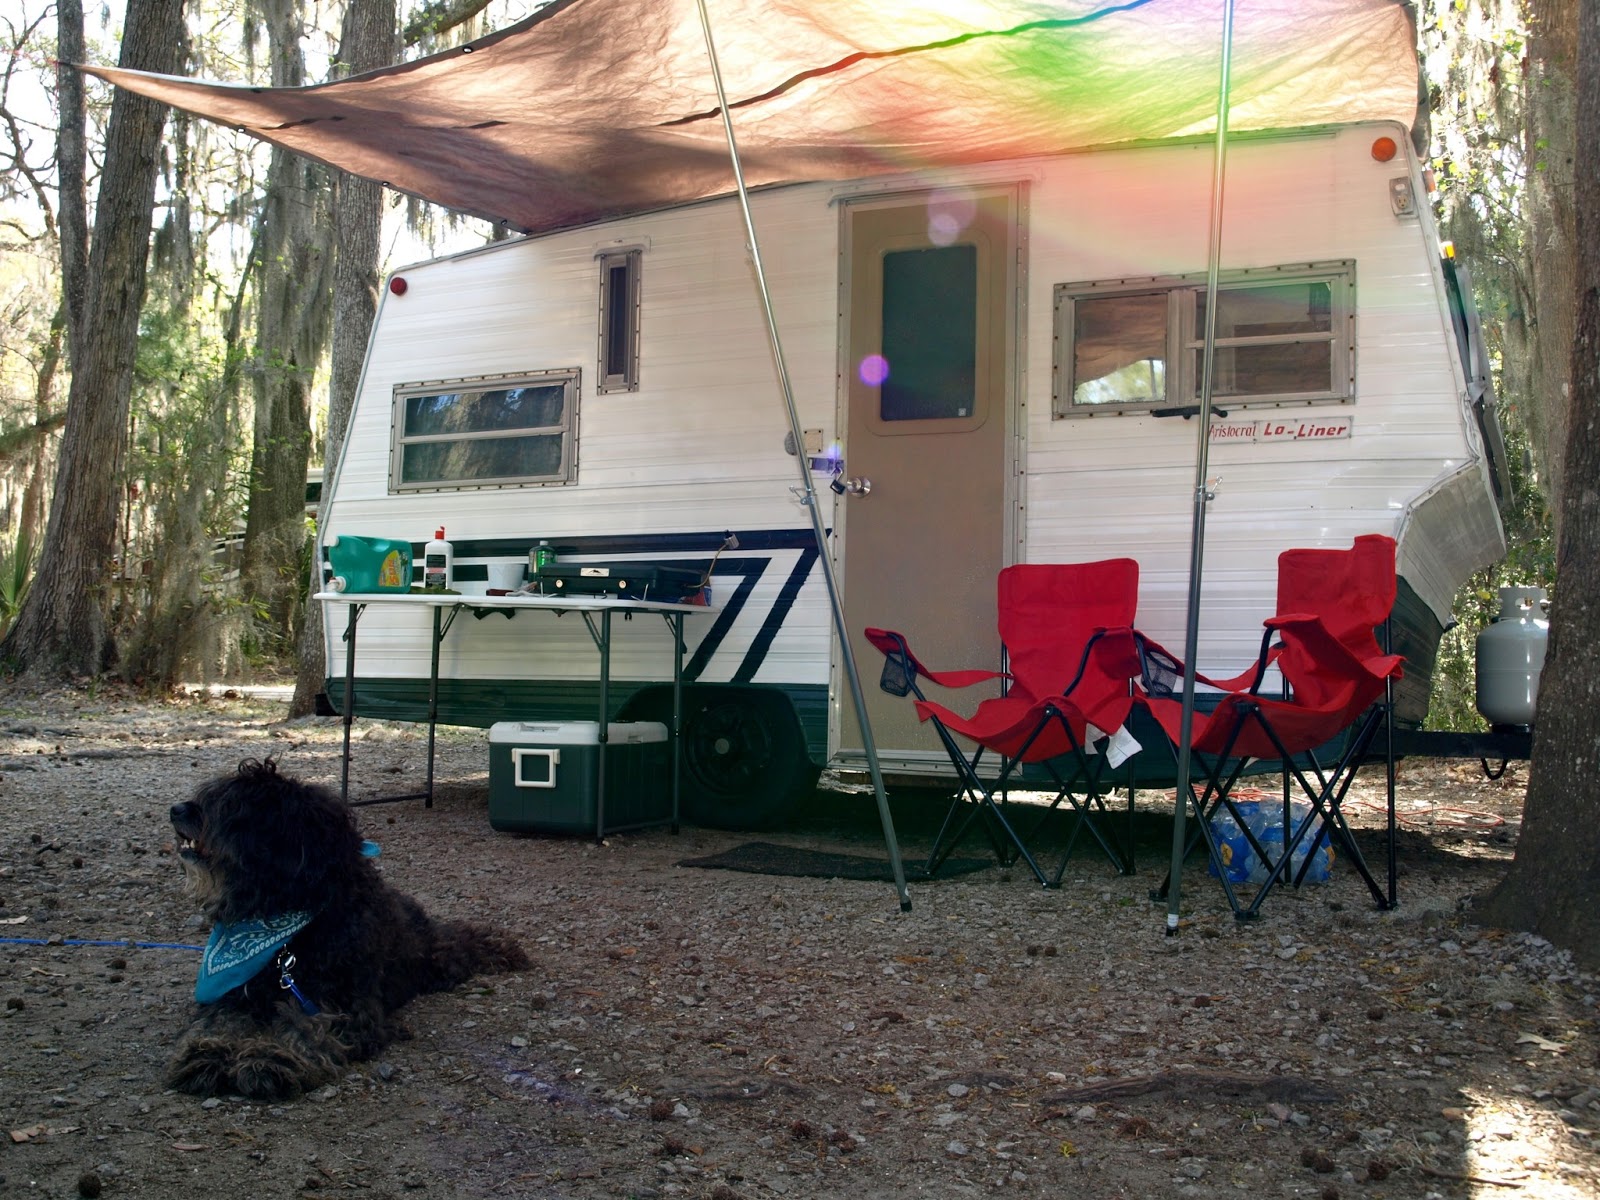
It was my goal to have "The Jones" ready by our spring break, and  though it's not finished *completely*, he was ready enough to get us the hell out of East Tennessee where snow was in the forecast for each day of our vacation.
Turned our storage door into a chalkboard 
We had planned all along for his first trip to be to Hot Springs,NC with some friends, but alas, we were snowed out/in. So, we did indeed have a case of March Sadness and on a whim loaded him up and headed to Skidaway Island State Park in Savannah, GA.


Sun Shine and Spanish Moss does the heart good! I found this campground just by googling "campgrounds near Savannah, Ga" It had lots of great reviews, and they all proved true. The sites were private, the showers clean, and the trails well marked.


We hiked each day we were there. I say "hiked," but it was more just like a walk since the land is very, very flat unlike the trails in the mountains were we are used to. Above are just a few of the amazing scenic spots we saw along the way.

Rooftop Bar View From Bohemian Hotel 

Each night, we made the 25 minute drive into downtown Savannah. We heart Savannah. It's where we honeymooned and may very well be our favorite city :)


The Azaleas were blooming all over the city!


To get to the nearest beach from Skidaway, you have to drive about 40 minutes to Tybee Island. I'm not going to lie, even though the sun was shining, it was chilly on the beach in March. But.....
We did throw down at The Crab Shack on Tybee. A platter as big is Aaron's face. Amazing.

After 3 nights, sadly, it was time to head home :( We will definitively return though; we LOVED it!

*Next post will be camping versus hotel when traveling* 

Wednesday, March 20, 2013

Vintage Sports Baby Shower and Maternity Shoot

Our Whichcrafters craft club hosted a shower for one of our members. She did the baby's room in a vintage sports theme, so that's the theme we went with for her shower and photo shoot. It turned out to be such a fun theme to work with!
I decorated my mantel with basketballs, daisies, and patriotic colors.
We took pictures before the shower at a local baseball field.
Baseball cake!

Here we are cheering our little mommy on! The flags that you see in the above two pictures were made out of felt and scrap fabric.
H is for Holden :)
I found some old trophies of mine and used them as food markers. I tried throwing the trophies out many, many times, but my mom always jumps in to rescue them. Thanks mom, they finally came in handy for something!
For our craft, we each painted a onesie. They are each so different and so cute! She loved them all!

Monday, February 25, 2013

Another Christmas Ornament

Well, with over a million repins, I've become a Pinterest sensation with last year's Christmas ornament, so I thought I would post another one to keep my fans happy ha :)

After our wedding, I dried my bouquet and used it to make a  shadowbox. I had a few petals leftover, so I had the idea to use them in a Christmas ornament.

 All I did was cut out a picture of our wedding flowers, roll it up, and insert it into the ornament opening. Then, I used tweezers to straighten it out. Lastly, I put in a few dried rose petals from my bouquet.


Ahhhh, memories.......

Wednesday, February 20, 2013

Egg Carton Seed Starters Year 3

This makes the 3rd year that I've used this method of starting seeds, and each year I've gotten great seedlings!
Here is how to make the mini-greenhouses : Link 

This year I had a new helper :)

I've used this method as well: Link 

Both methods have their benefits. When you use the egg carton method, you create a mini greenhouse that you don't have to water as often while the plants are tiny enough to keep the lids closed. However, you have to disrupt the roots when you plant them. Using the newspaper method, you have to water more often, but you can plant the newspaper and all into the ground. Last year we used both methods, and we saw NO difference in the plants once they matured and produced. We will probably use both methods again this year too because we are out of cartons and have tons more vegetables dancing in our heads :)

Friday, February 8, 2013

DIY Counter Tops...Finished

The camper's counter tops are now finished! See the first steps in this post. I really love how they turned out! However, if I were to use this method in my house (which I very well may do), I would make the first coat of color a solid and even color. I was going for a rustic/stone/granite look, and this is exactly what it turned out like. As you can see, the black paint under the stone paint is a little uneven, but I think that achieved the look I set out to obtain.
Remember is what they looked like before:
And here is after:
After all of the camper updates are complete, hopefully I will be able to get some better pictures for you :)

Monday, January 21, 2013

Camper Progress and DIY counter tops


UPDATE...FINISHED TOPS:
Click Here 


I'm making progress with my vintage camper renovation! You may think that the cold and snow would have put a damper on the camper work, but no, it's warm and toasty in "The Jones," and I've managed to put a few hours into to it each week. What I'm working on today are the counter tops.
As you can see (or maybe not from the dark and horrible photos), is that I was working with some U.G.L.Y tops and had nothing to lose, so I tried out this tutorial on using American Accents Stone Spray Paint to create a faux granite look. The tutorial used the sand colored stone paint, but I went with a darker choice.

Steps:
1. Tape everything well
2. Spray paint the base layer using just regular and cheap spray paint. It doesn't matter if it's all well covered or not because you will be covering it up with the stone spray paint.
3. Let dry and then spray on the stone spray paint.
4. Let dry for a long, long, long time. Every time I checked my stone paint, it was still damp, so I ended up letting it dry two nights before moving on to the polyurethane.
5. Polyurethane. This is the step I'm currently on. I applied my first coat today, and now, I'm going to let it dry over night before applying the next coats


There's the sneak peak! I will post the finished outcome in the next week or two! I can't tell they are going to be so so so much better than what was in there :)

Cost:
Cheap black spray paint $2
Stone spray paint x2 $10 (I ended up using 1 and 1/2)
Polyurethane  $8
Total = $20

UPDATE...FINISHED TOPS:
Click Here