Showing posts with label vintage camper. Show all posts

Monday, May 20, 2013

Hot Springs, North Carolina


Our second trip in The Jones was to Hot Springs, North Carolina. It is a neat little town about 30 minutes outside of Asheville, NC. The campground is privately, not state owned, so it's a little pricey at $40 a night, but the good thing about it is that friends can set up tents on the site, and no one will say anything, so we split the price and saved some money.  Camping is always more lively with friends :)

 This campground has a lot of sites that are right on the river where you can float, raft, or sit in a lounge chair and just watch.

But the best part about this campground though is that you are within walking distances from a spa, a bar-b-que, place, and two taverns. This town is really dog-friendly too, so we were able to take Hank with us and sit on the patio to eat at Spring Creek Tavern.


My friend, April, took some really awesome photos of our camping trip at: NamastApril 


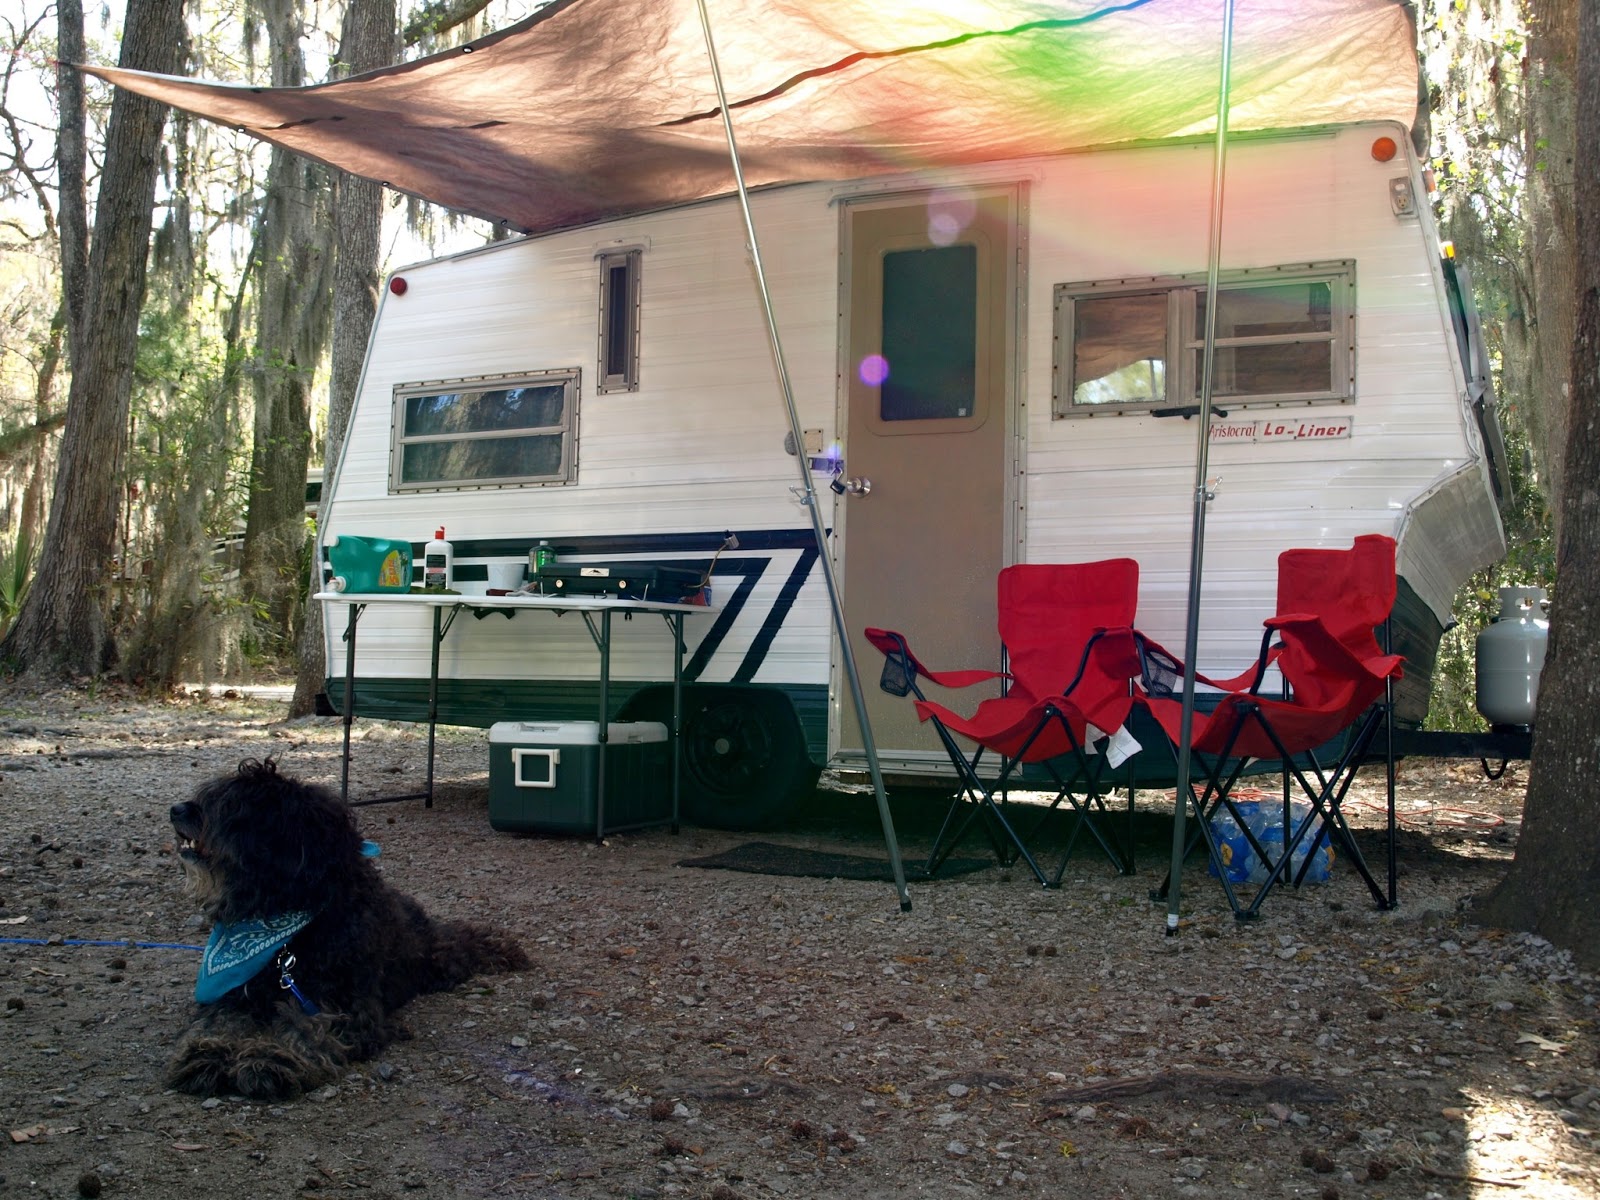
Our little camper looks so cute in the woods!

Camping versus Hotel


On our maiden voyage to Skidaway State Park, I decided to do a cost comparison of camping versus staying in a hotel. Here are the totals:


Camping
Hotel
Stay
$80 ($27 per night x 3)
Around $500 for 3 nights (this price is based on the average hotel cost close to downtown Savannah, GA)
Gas
$130 (had to take the truck)
$80 (based on my small car’s gas millage)
Food
$125 (based on only eating out once a day plus the grocery bill for breakfast & lunch food)
$150 (based on eating out 2 times a day since most hotels offer free breakfast)
Dog Care
$0
$30 boarding fee
Total
$335
$760

Saved $425


We almost saved the price of the camper ($450)! Obviously by saving money you lose luxuries like private showers and such, but sometimes it does the heart well to rough it a little :) 


Sunday, March 31, 2013

Maiden Voyage : Skidaway Island State Park


It was my goal to have "The Jones" ready by our spring break, and  though it's not finished *completely*, he was ready enough to get us the hell out of East Tennessee where snow was in the forecast for each day of our vacation.
Turned our storage door into a chalkboard 
We had planned all along for his first trip to be to Hot Springs,NC with some friends, but alas, we were snowed out/in. So, we did indeed have a case of March Sadness and on a whim loaded him up and headed to Skidaway Island State Park in Savannah, GA.


Sun Shine and Spanish Moss does the heart good! I found this campground just by googling "campgrounds near Savannah, Ga" It had lots of great reviews, and they all proved true. The sites were private, the showers clean, and the trails well marked.


We hiked each day we were there. I say "hiked," but it was more just like a walk since the land is very, very flat unlike the trails in the mountains were we are used to. Above are just a few of the amazing scenic spots we saw along the way.

Rooftop Bar View From Bohemian Hotel 

Each night, we made the 25 minute drive into downtown Savannah. We heart Savannah. It's where we honeymooned and may very well be our favorite city :)


The Azaleas were blooming all over the city!


To get to the nearest beach from Skidaway, you have to drive about 40 minutes to Tybee Island. I'm not going to lie, even though the sun was shining, it was chilly on the beach in March. But.....
We did throw down at The Crab Shack on Tybee. A platter as big is Aaron's face. Amazing.

After 3 nights, sadly, it was time to head home :( We will definitively return though; we LOVED it!

*Next post will be camping versus hotel when traveling* 

Friday, February 8, 2013

DIY Counter Tops...Finished

The camper's counter tops are now finished! See the first steps in this post. I really love how they turned out! However, if I were to use this method in my house (which I very well may do), I would make the first coat of color a solid and even color. I was going for a rustic/stone/granite look, and this is exactly what it turned out like. As you can see, the black paint under the stone paint is a little uneven, but I think that achieved the look I set out to obtain.
Remember is what they looked like before:
And here is after:
After all of the camper updates are complete, hopefully I will be able to get some better pictures for you :)

Monday, January 21, 2013

Camper Progress and DIY counter tops


UPDATE...FINISHED TOPS:
Click Here 


I'm making progress with my vintage camper renovation! You may think that the cold and snow would have put a damper on the camper work, but no, it's warm and toasty in "The Jones," and I've managed to put a few hours into to it each week. What I'm working on today are the counter tops.
As you can see (or maybe not from the dark and horrible photos), is that I was working with some U.G.L.Y tops and had nothing to lose, so I tried out this tutorial on using American Accents Stone Spray Paint to create a faux granite look. The tutorial used the sand colored stone paint, but I went with a darker choice.

Steps:
1. Tape everything well
2. Spray paint the base layer using just regular and cheap spray paint. It doesn't matter if it's all well covered or not because you will be covering it up with the stone spray paint.
3. Let dry and then spray on the stone spray paint.
4. Let dry for a long, long, long time. Every time I checked my stone paint, it was still damp, so I ended up letting it dry two nights before moving on to the polyurethane.
5. Polyurethane. This is the step I'm currently on. I applied my first coat today, and now, I'm going to let it dry over night before applying the next coats


There's the sneak peak! I will post the finished outcome in the next week or two! I can't tell they are going to be so so so much better than what was in there :)

Cost:
Cheap black spray paint $2
Stone spray paint x2 $10 (I ended up using 1 and 1/2)
Polyurethane  $8
Total = $20

UPDATE...FINISHED TOPS:
Click Here 

Monday, December 10, 2012

Our Vintage Camper

I'm so tickled to have finally found an old camper to call my own :) :) :) I've been on the lookout for a vintage (such a better connotation than 'old' haha) camper for months and months, and my patience has paid off. He may not look like much now, but I have some big plans for "The Jones." I let my husband name him since he so very sweetly drove an hour to haul home a cute piece of "junk" that he can't even stand up in all the way because it's so short and he's 6'1. He chose to name it "The Jones" after George Jones because our little camper is old, beat all to hell, and can hold quite a few cold ones. hehe

This is a 1971  Aristocrat. It makes me smile to think about all of the joy it's given previous owners in the past 41 years. I have a lot of plans on how to fix it up, and I will share all of the before and after photos as I finish. My goal is to have it ready by our spring break (March!) so my honey and I can take off somewhere wonderful  :)

Here is a mood board of what I have in mind for the inside:
If you are wondering how to begin the hunting process for a camper of your own, here is what I did.

1. Set a budget. I knew I didn't want to put more than $600 into a camper. Sure the new ones are nice, but for me, the pleasure I will get from fixing this one up is worth loads more. Plus I'm cheap.
2. Check Craigslist and your local newspaper....everyday 
3. My husband will attest that I became obsessed. I checked listings every morning and night for about 5 months. But, this served two purposes....1. I would catch the good listings 2. Aaron knew this wasn't a "phase" I was in. He realized how much I really wanted one, so he gave in ;)
4. Search for the words "Vintage" "Older Camper" "Hunting Camper" "Aristocrat" "Scotty" "Shasta" "Airstream" as these will show up out of your regular local search.
5. Over the coarse of 5 months, I probably found about 15 campers that I thought fit what I was looking for. Out of those, only about 5 owners emailed or called me back. Out of those, we looked at 2. So, I guess this step is to be patient.
6. Take someone with you that will be the voice of reason. I wanted the very first one I saw. However, Aaron pointed out that the floor and ceiling were....umm....rotting out. He knew that would be too much for me to fix, so finally I agreed.
7. Always bring cash and talk them down. The man had this camper listed for $1000. I told him via email my budget ($500-600), and then Aaron was able to talk him down to $450 once we got there because we had cash to pay. Whoop!

Aaron laughed at our hoopty trailer all the way home, but haters gonna hate. lol He won't be laughing when he wakes up to biscuits in the tiny oven, a river rolling in the background and coffee by the fire this spring :)